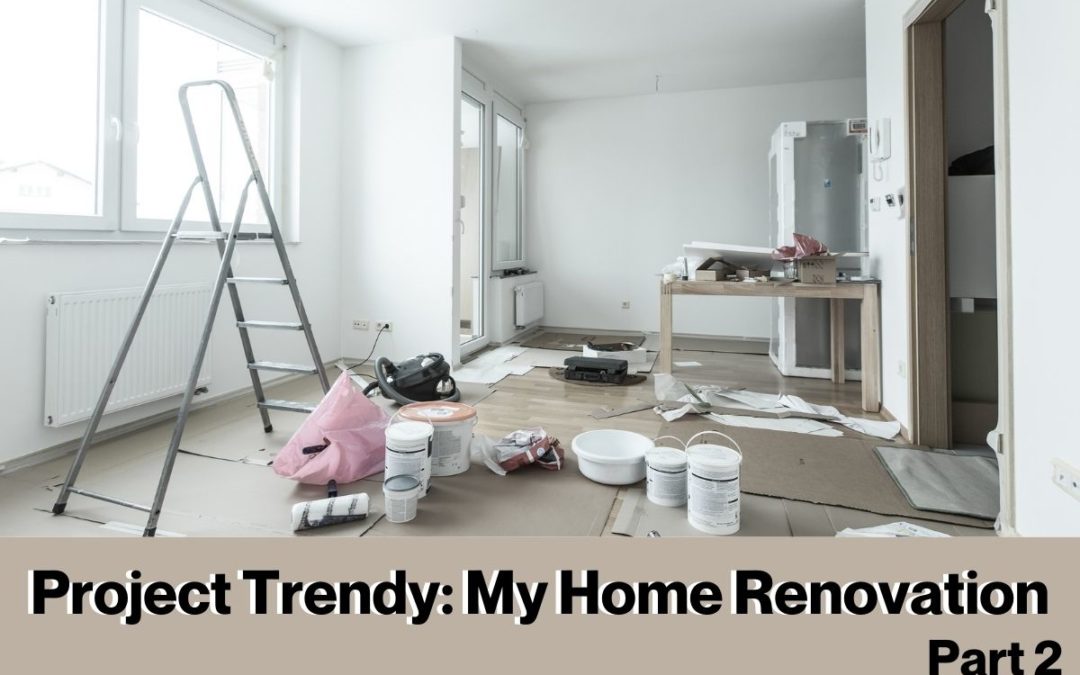
If you have been checking my blog for an update on my home renovation, the wait is over, here it is! (Also thanks for the interest). It’s been a pretty fun and stressful experience (not in a bad way). My husband and I have been so busy, we haven’t really taken the time to just chill out. It’s been all about the house non-stop for the past 4 months. To be truthful, I am totally addicted to looking up different renovation ideas, home decor and watching all the HGTV renovation shows possible. It has been a dream for me to buy and renovate a home and it feels so good that its become a reality.

Where Do I Continue?
The last time I left off was when our house was being framed, which was pretty cool to see all my ideas come to life. I literally drew my plans on graph paper. I’m sure I could have used some fancy online software but I like to keep it old school with paper and pencil. Now that I see the framing done and each room and space is what I drew out on my graph paper, I am in awe of it! It’s so cool! My husband and his team (including my dad and his friends) did such an amazing job and I am so grateful!

Demo of the main floor

Framing of the new vaulted ceiling.

Framing of the new primary bath. We divided the old main bath to make 2 bathrooms (we took some space from the kithcen as well)

Framing of the new main bath.
Insulation and Drywall
The next thing on our renovation list was getting the spray foam for our new vaulted ceiling done and then getting the drywall up. It took us some time to get some quotes and wait for the holidays to pass as people usually like to spend time with their families over Christmas rather than just working on my house. But soon enough the spray foam was done and the drywall was up (which took a week or so). Our project started to become a home and I was in love with how our house was beginning to look.

Spray foam insulation in the vaulted ceiling of the living room/kitchen.

Spray foam insulation over the living room and new fireplace framing.

Drywall in the kitchen and on the ceiling.

Vaulted ceiling is fully drywalled and mudded.

Drywall over the firepalce frame

Rec room bar/kitchen area is fully drywalled.

This used to be one space but I created 3. You will see the new flex space (could be an office). To the left is the second pantry and start ahead is another bedroom.

Laundry room has been created and is fully drywalled. We separated it from the mechanical room.
Home Renovation Mood Boards
I started to create mood boards for each room and really started to visualize the spaces and how I want each space to feel. I know my mood boards may not be the exact same as the finished product due to supply issues and just simply changing my mind and vision (which happens all the time with me). But now I have a vision and can start ordering vanities, fireplaces, lights, picking colours etc.


Tip: If you have been looking to make your own mood boards, try using Canva.
How Do I Want My Kitchen To Look?
One of our biggest missions for our home renovation was figuring out how our kitchen was going to look, especially now with the vaulted ceilings. But thanks to Google, Instagram, Pinterest and the 2 experienced millwork companies that came in to take a look and quote us, we finally decided on the look and functionality. They also helped us with our rec room bar/kitchen, laundry room and main bathroom vanity.
Picking Colours For Our Millwork
So now it was time to pick colours for the millwork. I literally went through all the fan deck colours that Benjamin Moore had to offer. It took me a week but I finally narrowed it down to 2 colours for each space (kitchen cabinets, rec room bar, laundry and vanity). I order sample paint cans for the colours and painted them on pieces of wood and literally sat and starred at them for a couple of days (and got input from my parents of course). Then I made the final decision and sent the colours off to the millwork company and waited anxiously to see the end results.

These were my colour choices for all the millwork. We went with a dark blue almost black for the big wall of kitchen cabinets. We choose a deep green for the main bath vanity. We chose a fun blue for the rec room bar. Lastly, I picked a mint green for the laundry (I was thinking white originally).
Our Cabinets Arrived
When the millwork started to come in a few weeks later, it felt like Christmas all over again! My husband was sending me photos but I couldn’t wait I needed to see it for myself. I rushed over and started snapping photos. When I arrived all I saw was the boxes of cabinets and the guys were putting each cabinet in its place. I helped by organizing each box and labelling the order they were suppose to be in. I just wanted to help in any way that meant the project would move along quickly.
Watching each cabinet get secured to the wall and looking at each room as it was coming together, I was in awe again. And now that the cabinet doors have arrived, we are blown away by the colours and so happy with our selection. It’s so cool to see my vision come to life.

All the cabinet boxes have arrived.

Organizing the kitchen cabinets

Cabinets are hung and deciding on the height of the light fixtures over the island.

Kitchen cabinet doors are on. We went with a tri-colour kitchen.
Main Bathroom Renovations
During the 3 weeks we waited for all the millwork to come in, the guys worked on the bathrooms. Oh my did they curse me when I brought them the tiles and showed them what I was wanting. The main bath had a repetitive diamond pattern on the floor, so they had to pay attention when laying the tiles to make sure the pattern was correct. Then I gave them 2×8 wall tiles that I wanted in line and vertical across the bathtub walls. Yes, I know it takes time and yes it’s tedious work but I don’t care. When I have a goal or vision in mind, it must be completed. And it looks soo darn good, especially with my green vanity. It totally has an art deco vibe to me.

Main bath drywalled

Main bath tub wall prepped for tiling

Main bath tiles are in and custom green vanity is added

Main bath tub wall is tiled with 2×8 matte white tiles
Primary Bath Renovations
The primary bath was more simple. I went with a classic chevron tile for the floor and penny tile for the shower floor. I wanted to create a cool, classic, elegant feel in the primary bathroom. My goal is to do a large format porcelain tile on the walls. Currently, just the floors are done as I had to wait for the wall tiles to arrive due to a delay in shipping (the common problem with supplies since COVID).

Primary bath floors. Classic chevron tile with grey veining (Eden Statuary).

Primary bath shower floor done in a porcelain white matte penny tile.

Primary bath floors are complete.
Lower Bath Renovations
The lower bathroom was a project that the team put off for some time because the floors were very uneven and there was a step into the bathroom that needed to jackhammered away. But once the jackhammering happened and the self-levelling was poured, we were off to the races with this washroom. I selected a fun patterned tile, which was easy to lay and then I decided I wanted a subway tile done in a brick pattern (which yes again I got some complaints on, because of the work involved). The guys just needed to understand that I just wanted a simple look with my fun patterned tile. To add some contrast I decided to go with a black hexagon tile for the shower floor (and so happy I did). All 3 bathrooms are really coming together and I am soo happy with the way they are turning out.

Lower bath floor was very uneven. It required alot of work to level it out.

Lower bath fun patterned tile

Home Flooring and Laundry Tiles
The other 2 things that finally went in as we waited for the millwork to arrive was the laundry tiles and the wood floors. For the laundry room, I wanted to keep it simple and clean. Since I decided to go with mint green cabinets, I wanted the floors to be a neutral colour. After a tonne of tile shopping, I went with a simple hex tile in a very light grey (I honestly thought it was white when I first saw it, but you can totally tell it’s a light grey with the grout).

Laundry floor tiles. Simple clean hex pattern in a light grey.

Laundry cabinets are in. The mint green works well with the light grey floor tiles.
As for the main floor and basement, I kept it simple with a light oak colour. We did a large plank wood floor for the main floor and a vinyl for the lower level. They look soo good!!! The main floor wood wasn’t quite like the sample we chose in the store. It ended up being a little darker and more knotted than we thought but it’s okay we will make it work. I just love how fresh and updated the lighter floors make the space. It feels brighter and warm. I absolutely love light coloured oak floors!

Main floor wood floors are done

Rec room bar cabinets and lower level vinyl floors
Current Home Renovation Goal
So our plan is to be done our house in about a month’s time, which means it’s crunch time! My husband and his team need to finish the foyer tiles, the entrance wall, the pot lights, paint, the doors, trim and so much more. I need to start getting in light fixtures, mirrors, sinks, counters, backsplash, some decor, etc. As much as it can be stressful to search and find what I am looking for, it’s also really fun that this is my job right now. I wish this was always my job!
Anyways, I will keep you posted on the renovations. My guess is my next post will be the finished project, so stay tuned. And in the meantime, check out my other blogs on my page. Thank you again for the interest and support.
Much Love,
Alexandra